Garden plan 2017

Yes it is January. It is cold and the cloud cover is thick and permanent, it is a permacloud!

All this dreadful weather is no reason to despair (or at least that is what I am telling myself). The glossy, colorful seed catalogs are neatly staked on my book shelve next to my desk. Yes, you know exactly what I am talking about! Actually it is no more than a month before it is time to start your peppers and eggplants (in zone 6). I need to get going on the planning my 2017 garden.

Where to start? Garden planning software and garden outlines are abundant on the internet. I have not used this garden planner but it looks cute and has useful features, for example, it suggests to you when to plant your plants.  I am more of an analog person and I like to draw, so my previous garden plans were always neatly drawn on paper (and of course they are in color, because who does not like colorful pencils?). But what happens to this plans when I go to plant in the garden? I plant as I “see” it in the actual garden and not on the peace of paper. Because on the same spot where my neatly drawn plan said to plant a tomato, I see a gray-green leaves of a volunteer catnip plant, and my kitty could use more catnip, right? So I can’t plant the tomato there or can I? Do I move the catnip? But it looks good in here and it is already big and I may damage it’s tender roots…and the frustration begins to add up. So my garden plan always ends up being a total waste of time and energy or a very big frustration and stress. Done! I had enough! I am not doing to agonize about garden plan this year, I garden for fun, don’t I? Also this year I am eliminating or minimizing the areas of my life that cause me stress, and there is no way gardening should be on that list. No way!

In 2017 I am trying the following:

  • Write down the list of plants that I want to grow, taking into account how well they will grow (I promised my other half that I will stop trying to grow eggplants in our garden, because they do not do well at all). 2017 ascent is on pollinators – I will be planting a lot of flowers (mostly natives, but not all, because how can I have a summer without the colorful display of zinnias?)
  • Check my seed inventory, most likely I already have the seeds, if not, purchase them from local sources first (farmers market, ask friends) or wait for the local seed exchange. I am hoping to not be purchasing many seeds from other sources (who am I kidding, I will get some new zinnia colors from Backer Creek Heirloom Seeds and I saw some cool native flower mixes from Seed Savers Exchange)
  • Group the seeds by the dates when they need to be planted in the garden. Some seeds can be sown as soon as the soil can be worked. Other tender plants like a warm soil and need to be planted much later in the season, well after the last frost date. If you are not sure when that is for your area, check the USDA hardiness zones, that is a very good thing to know about your garden. Find your hardiness zone here USDA hardiness zones
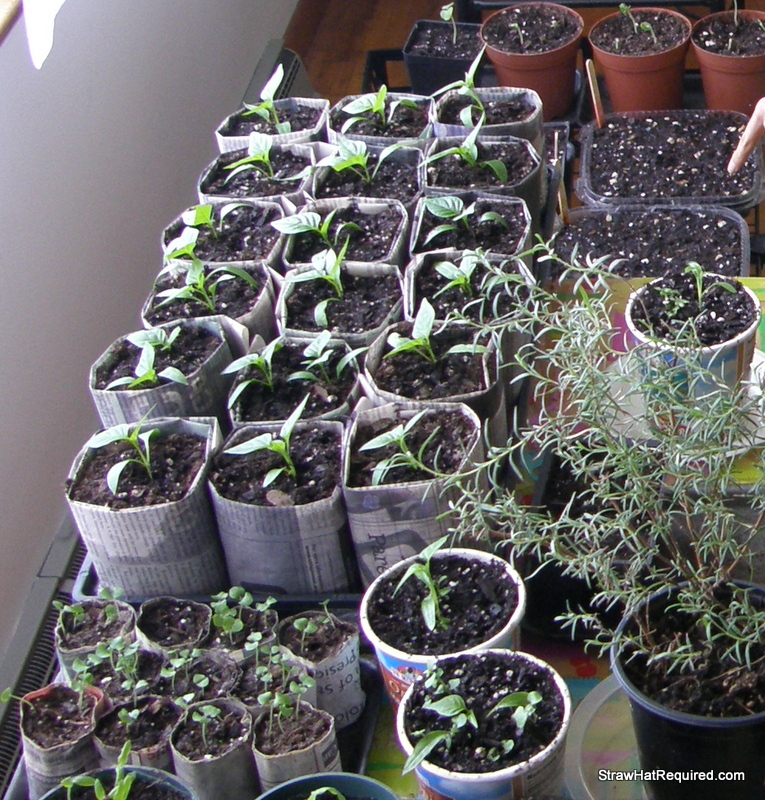
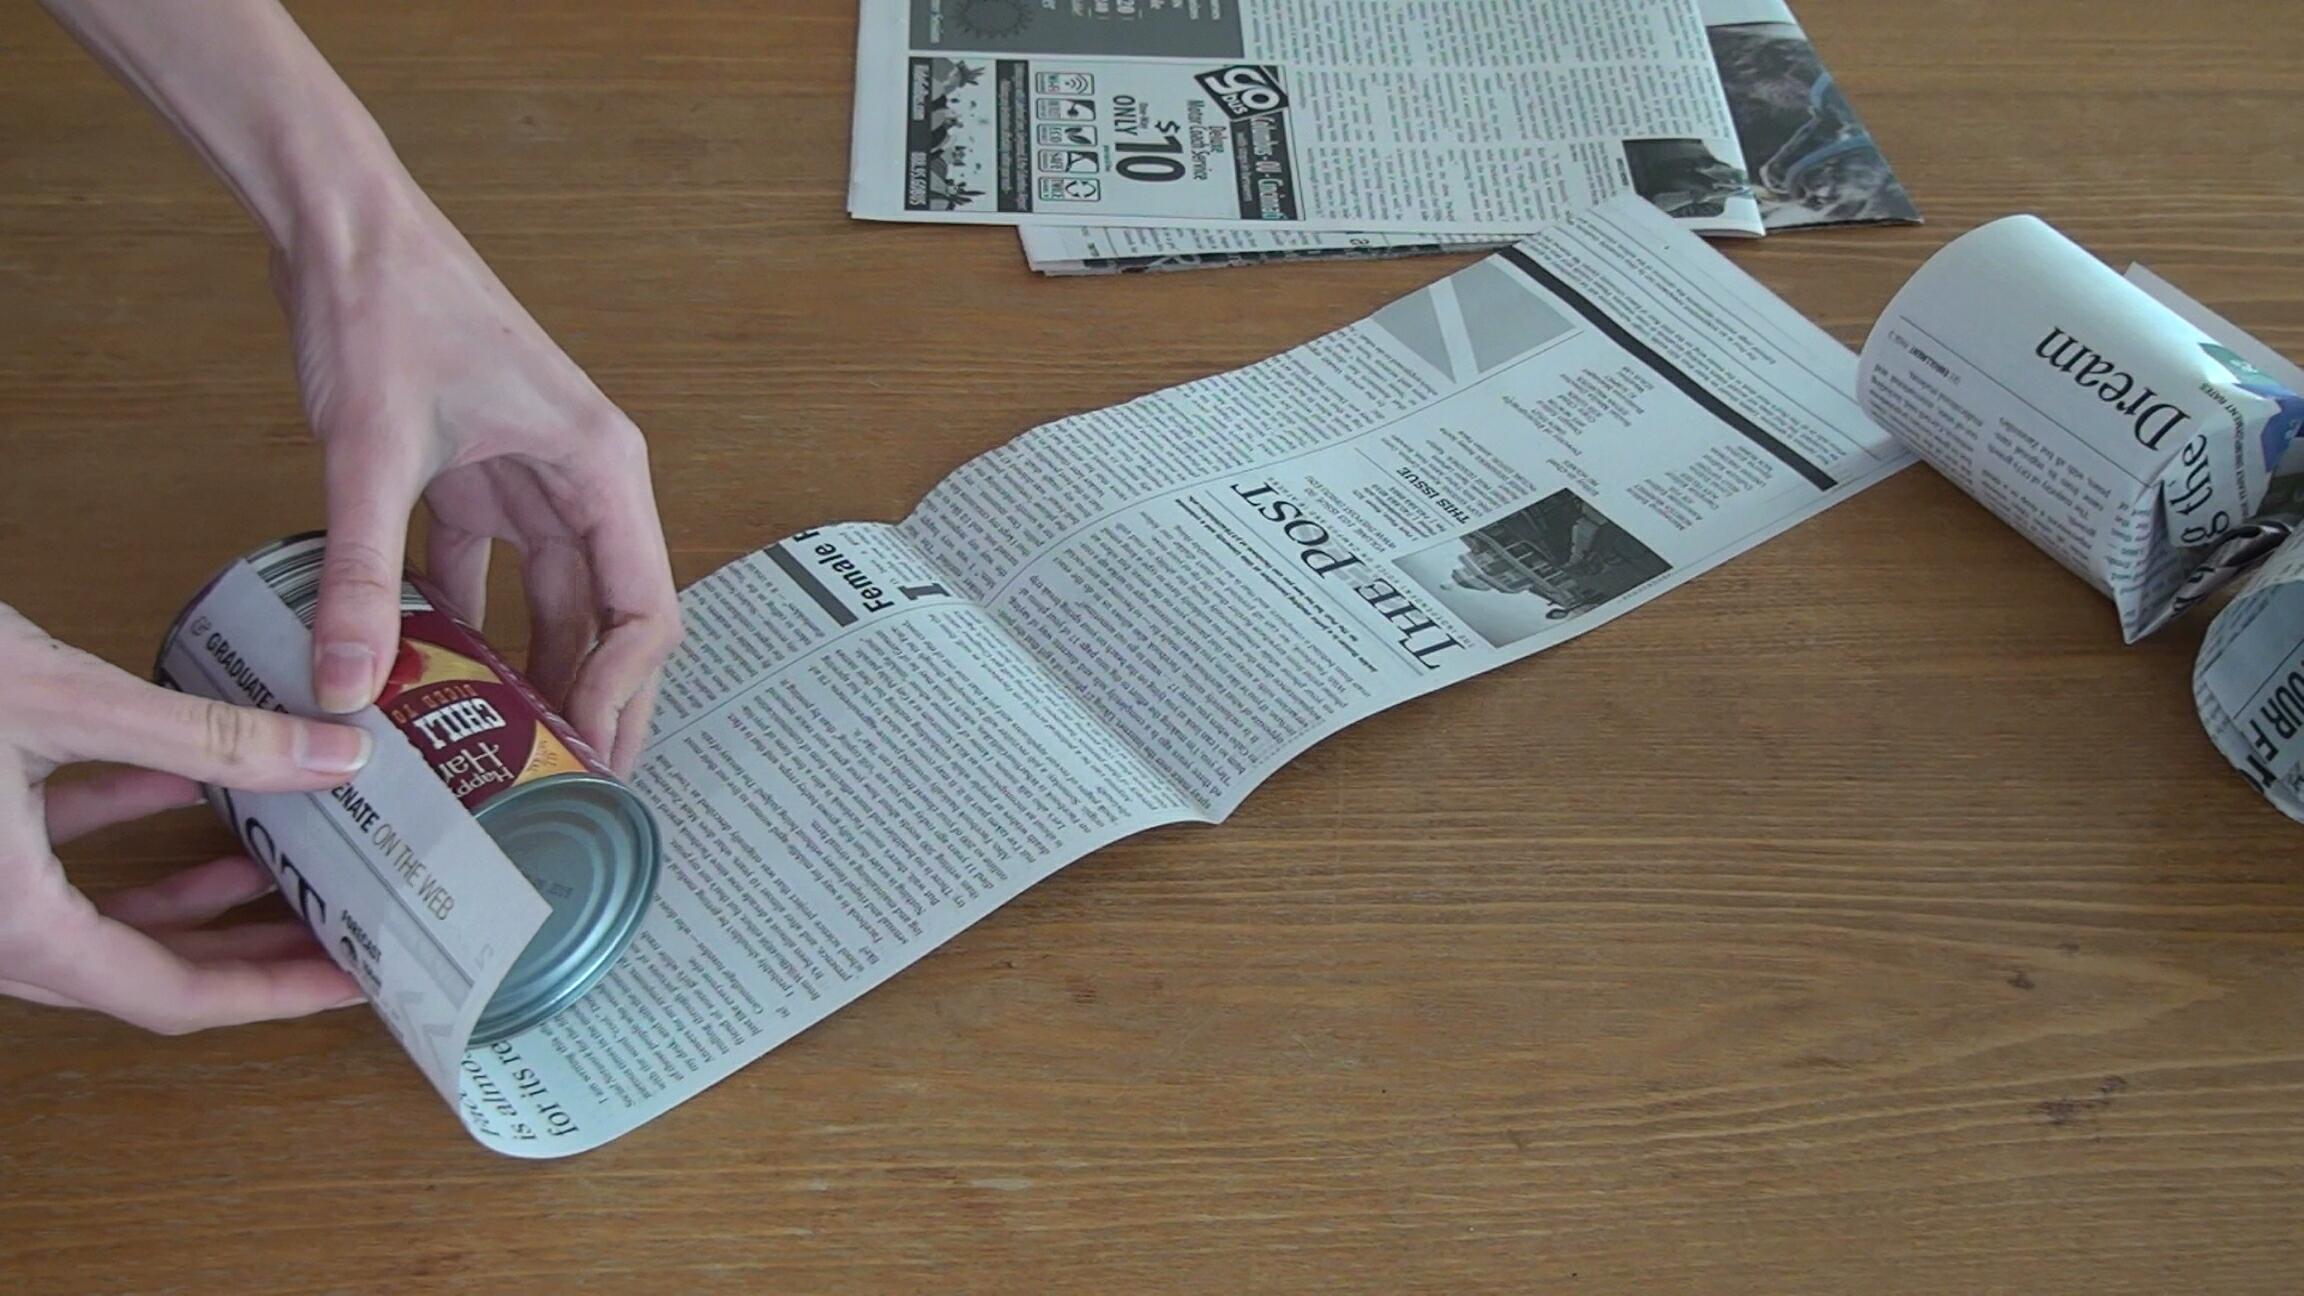
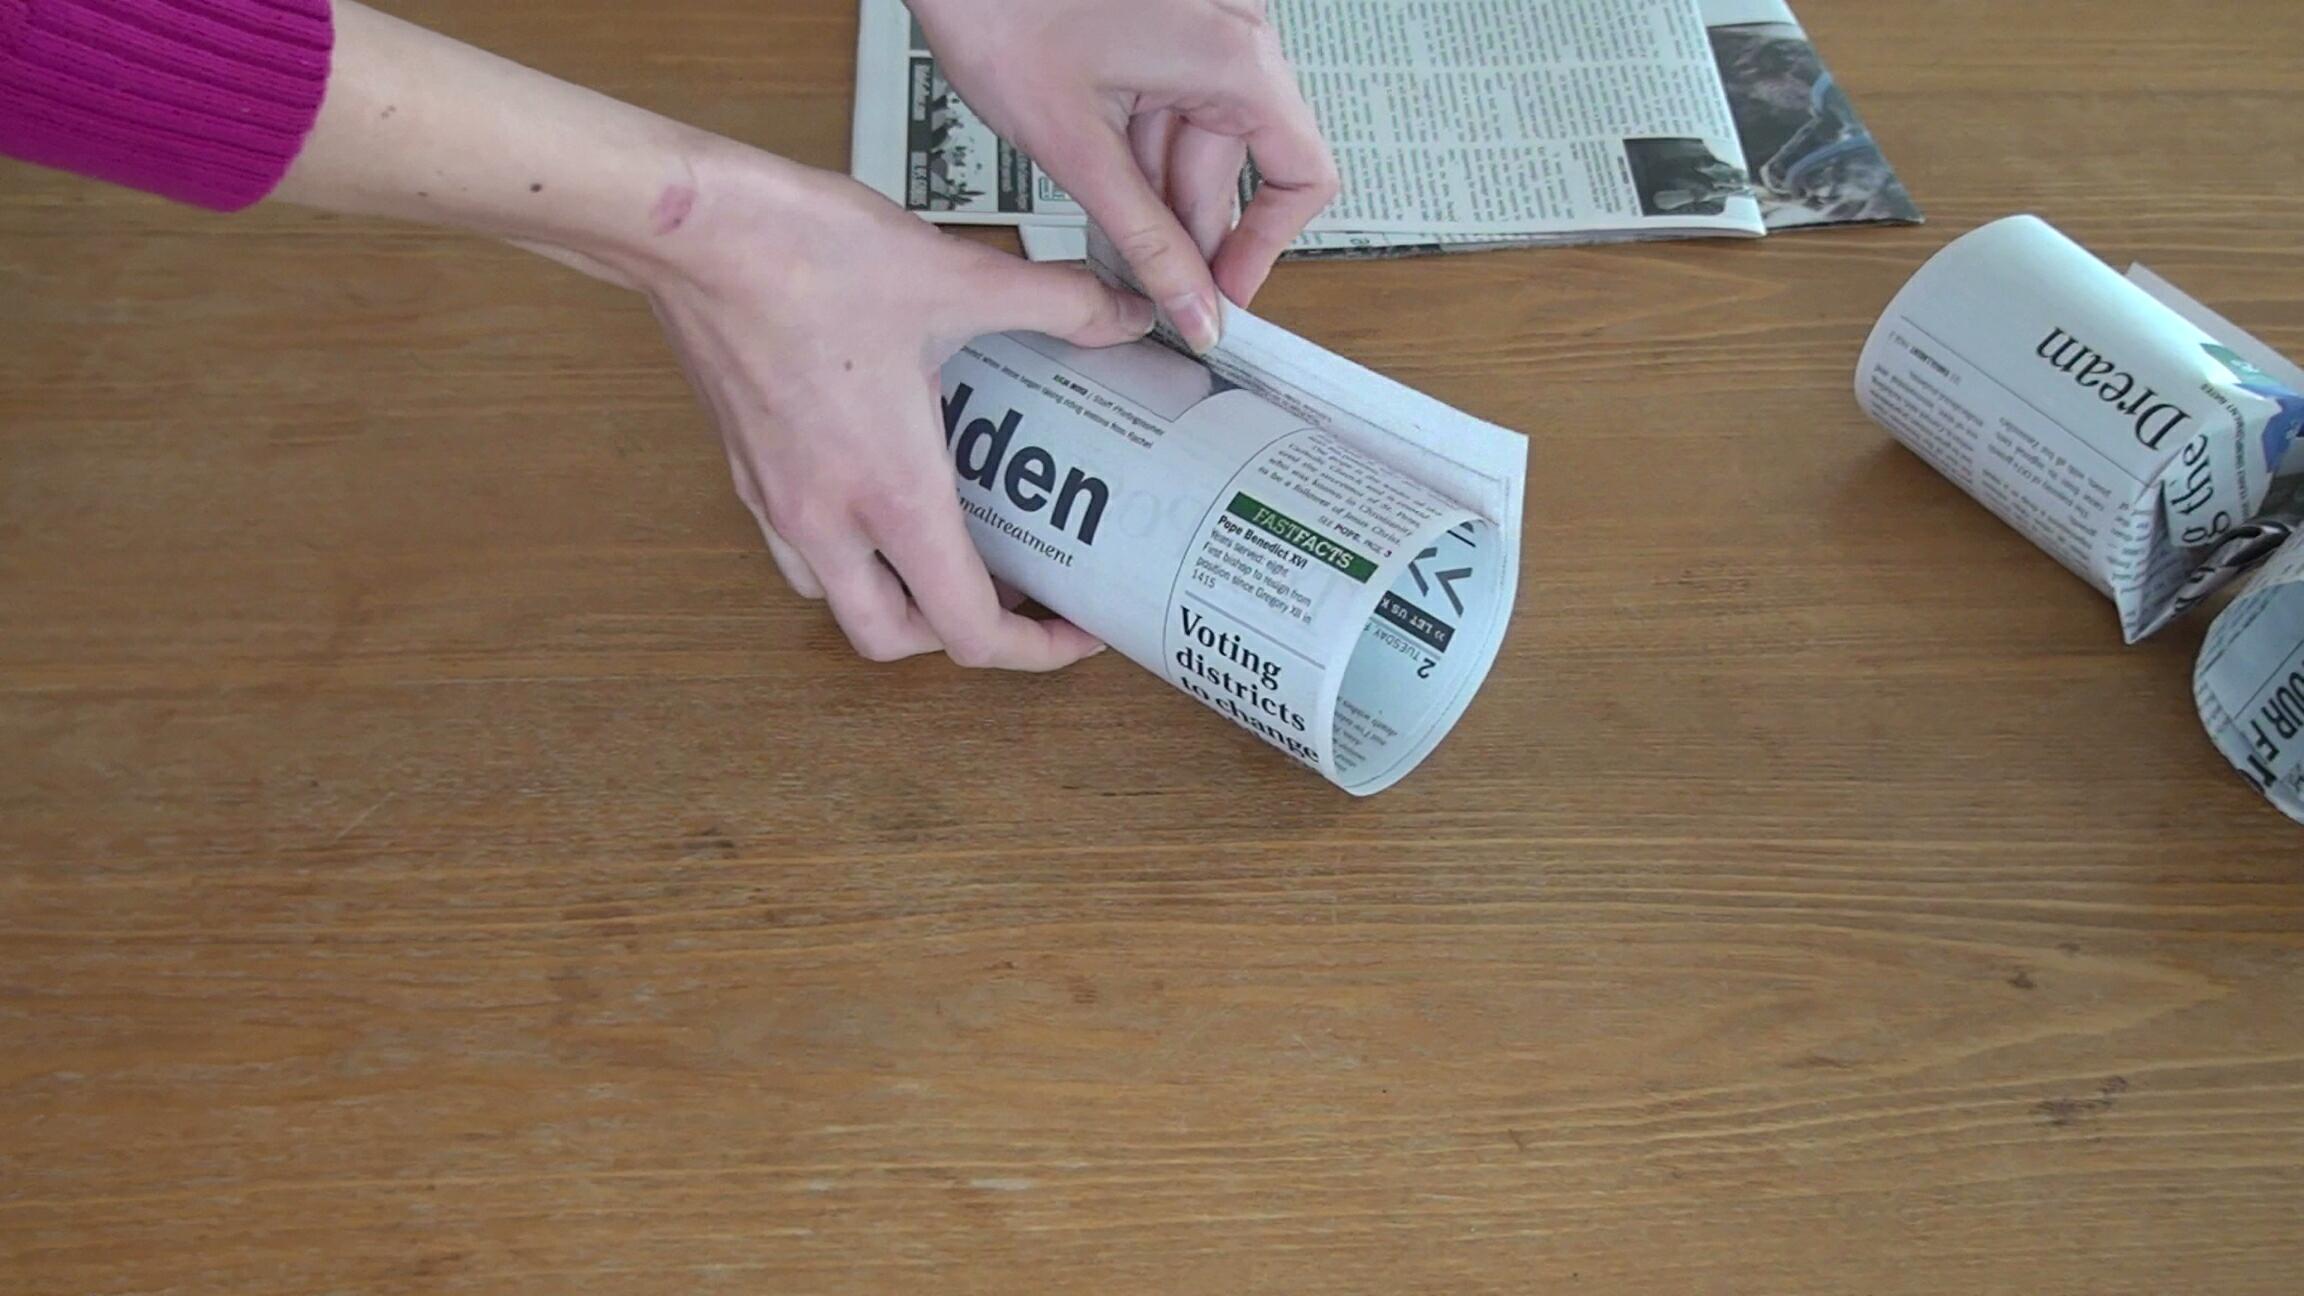
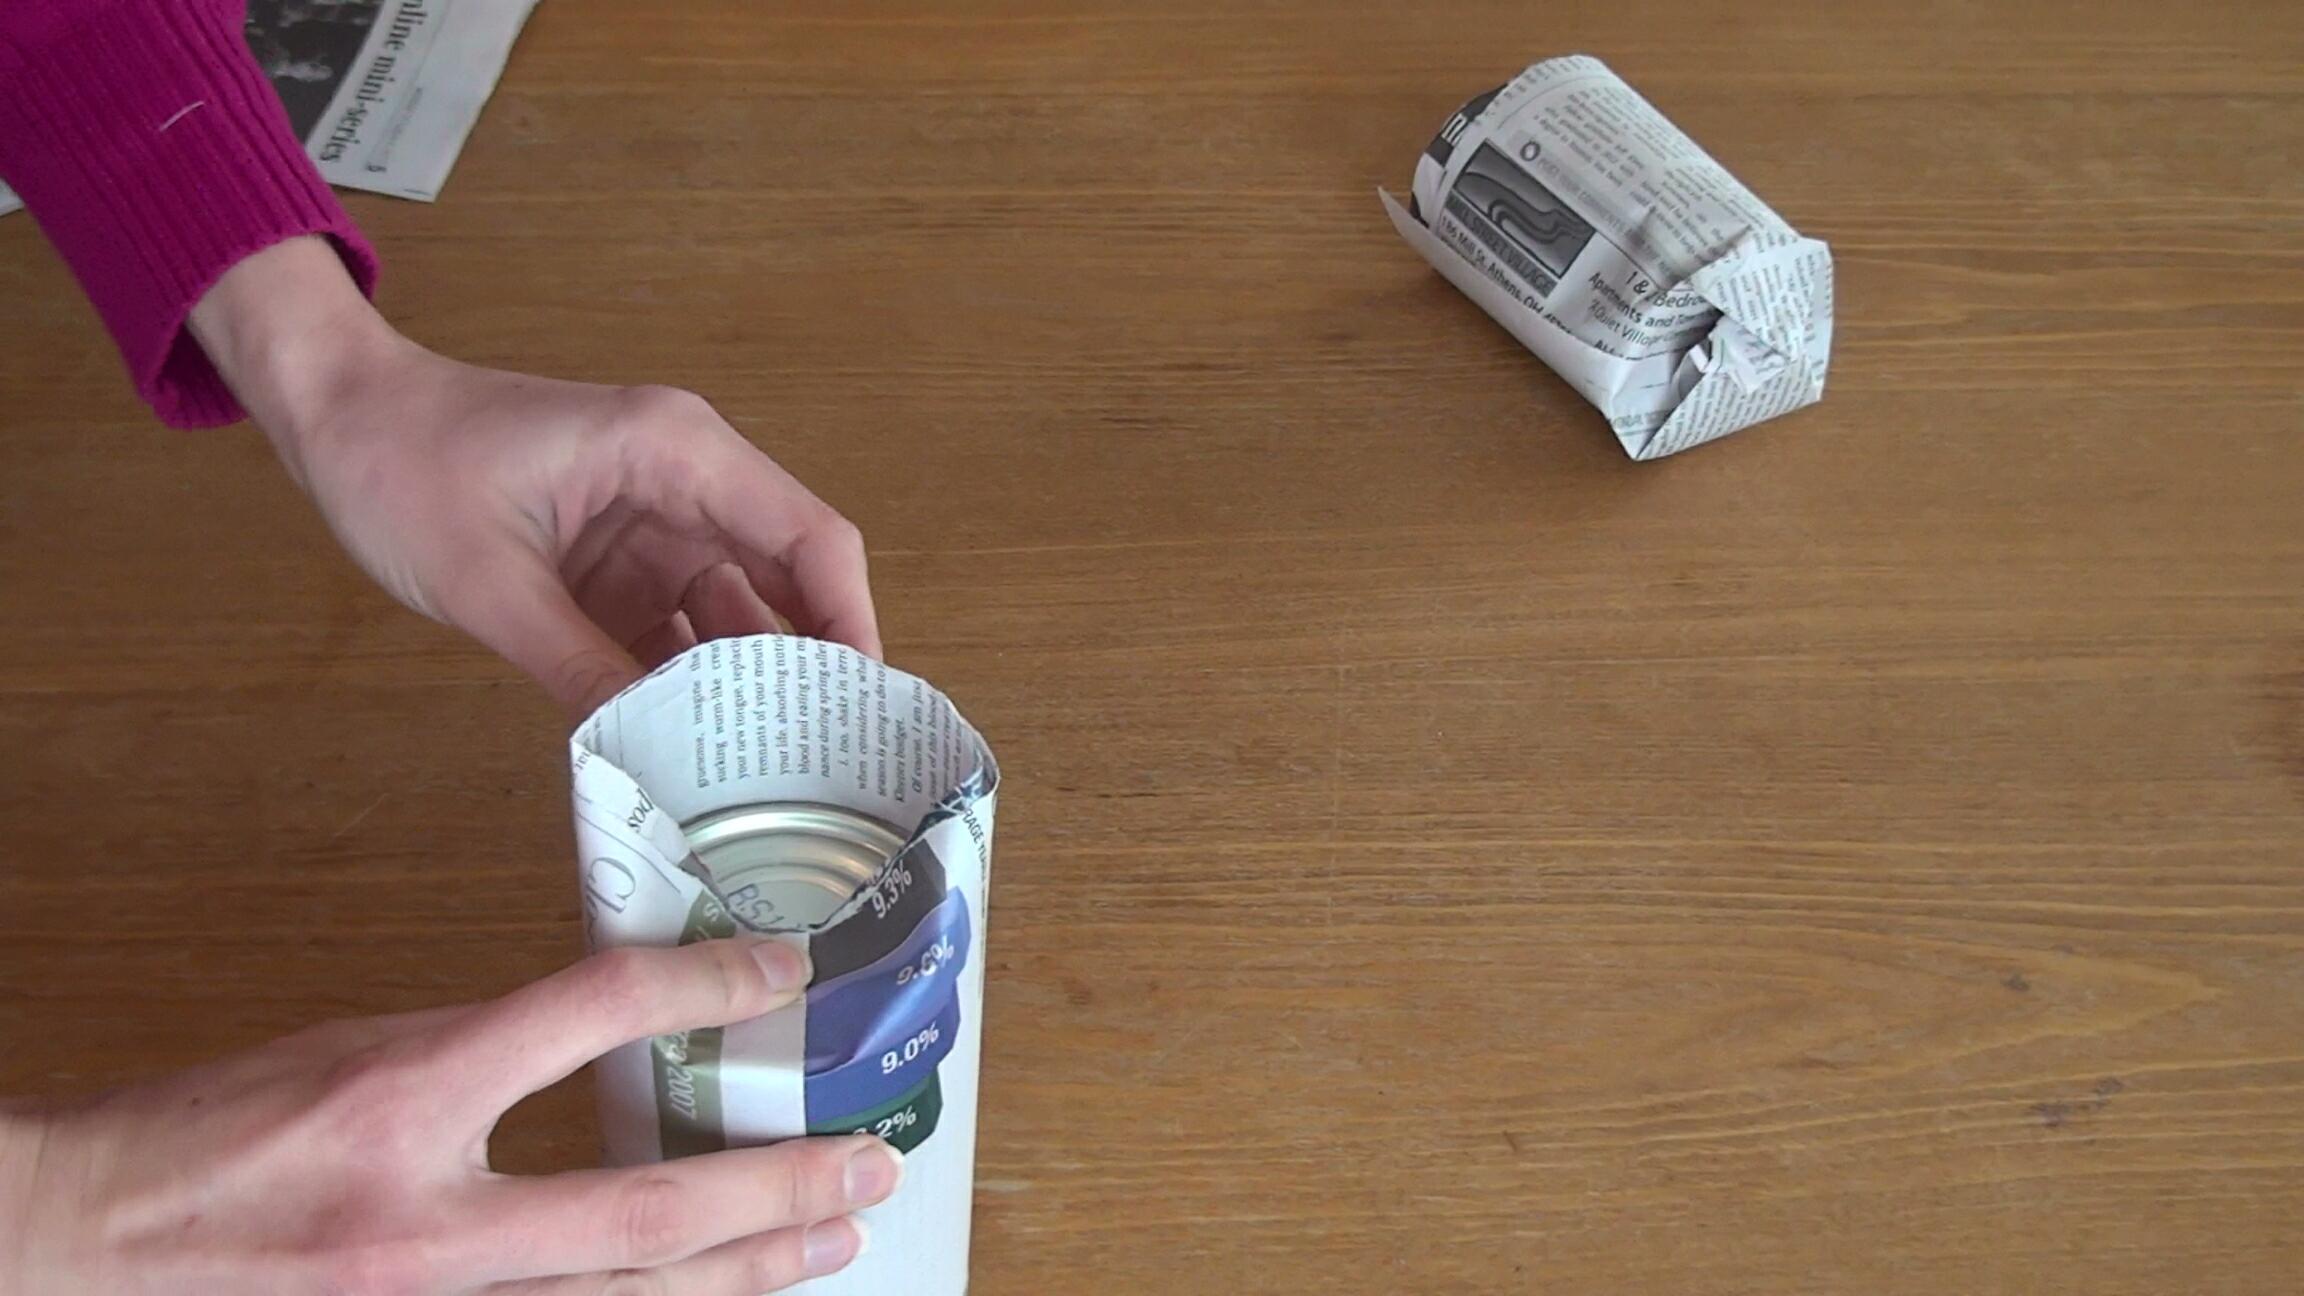
  • A hard decision needs to be made soon. Am I going to start some seeds indoors? To grow or not to grow, that is the question! I may do rare onions and some flowers to get an earlier start on the harvest and the beauty. It will be very minimal this year, because every single year the plants that were seeded directly in the garden (or seeded themselves the previous year) outperform the once that were started indoors. Finally I am learning the lesson this year and will seed most things directly. The only problem is that it is so wet in the garden in the spring and I do not want to compact the soil by walking on it.

This is it! My plan is to have fun and dream and envision my garden this year. For some reason, even thinking about the words “garden plan” gives me stress and anxiety. I garden for fun, so fun I will have!

What are your garden planning techniques? What worked and what made you frustrated about the planning process? What do you do with your volunteers?


Advertisement

Fall Garden

While you are enjoying the bounty of summer, it is time to plant fall garden! This is your second chance to enjoy the bounty of spring. Cooler temperature and short days are perfect for some crops and there will be less mosquitoes while you work!
Some plants prefer cooler temperatures, but die with hard freeze, while others will thrive in cold and will greet frost with improved flavor (carrots, beets, kale and collards). First week of October is average first frost for Athens Ohio (it varies every year). To find the first frost date for your area, check farmers almanac.

What can you grow in your fall garden?

  • Greens: lettuce, kale, collared, Swiss chard, spinach, arugula, Asian greens, mustard, endive
  • Herbs: parsley, dill, cilantro
  • Root vegetables: carrots, radishes, beets
  • Peas and beans: snow peas, sweet peas, some short season beans
  • Fast maturing crops: summer squash, green onions
  • Garlic: plant garlic bulbils (seeds that come out of the scapes) in late summer. Garlic cloves should be planted in late November, beginning of October
  • Transplants: broccoli, kohlrabi, cabbage, Brussels sprouts

Now turn off your computer, put your straw hat on and go plant some fall garden goodness!

Why start plants from seeds?

Why should you start plants from seeds? I am glad you asked! Let me list some of the reasons why you should consider doing so, (this is in no way a comprehensive list):

  • Varieties! There are many more exiting and delicious or plain weird varieties available as seeds compare to transplants. Also you can make sure you get heirloom (vintage) varieties and not GMO.
  • You get what you expect. I have gotten plants from the nurseries that were not what OLYMPUS DIGITAL CAMERAwas promised. I got pepper as promised, but the variety was not even close.
  • You save money (you know I am all about saving those greens). It takes you couple of dollars to get from 25 to 500 seeds (depending on the plant). It will take about the same amount or more to purchase a plant or two. Please talk to your friends and your community and try to find seed exchange or swap in your area. If you can’t find anything like that – organize seed exchange yourself (more on that later).
  • It is so much fun to watch plants growing from seeds, while it is still cold and dead outside (this is one of the things that keeps me from going crazy around mid February from the lack of sunshine and garden therapy, because I am one of those solar powered people, you know!)

 You can see a picture of my peppers and broccoli happily growing in their newspaper pots (learn how to make them here).

How to make newspaper pots

     It is great to make your own pots. They are biodegradable, free to make (you most likely already have all the materials you need) and your plants will not have transplant shock. All you need to do is plant the pot into the ground and let the worms eat it up. Well, lets get started! You need the following:

  • newspaper
  • scissors to cut the newspaper
  • any 15oz can (or any other size, depending on how big you want your pot to be)
  • very shallow dish to put the pots on (I use the Styrofoam trays you get when you buy veg at the store)

You can read below or watch a video

20130216145250(2)

Cut the newspaper into strips about as tall as the can, with a couple of extra inches at one end for the bottom. Start rolling one page of the newspaper.

20130216145250(3)

Roll the newspaper around the can a couple of times, do not do it too tight, because you will have to remove the can and it would be difficult if you rolled it too tight.

Fold in the overhanging ends, creating four folds as shown below.

20130216144718(1)20130216144718(3)20130216144718(4)

20130216144718(5)

Your pot is basically ready, invert the can and press hard to secure the bottom.

20130216145250(11)Gently remove the can by holding the bottom of the pot and pulling  the can from the top.

Here you have a biodegradable, free and fun to make pot for your plants! Just do not forget to place a plastic shallow container underneath your pot to catch the excess liquid when you water your plants.

OLYMPUS DIGITAL CAMERA

Here are my pepper plants happily enjoying their environmentally friendly temporary houses (you can learn how to start your peppers from seeds here).  In the left lower corner of the picture, you can see smaller pots housing collards. Aren’t they cute little plants?

Try this fun way of making pots and let me know what plants found homes in them.

Starting eggplants, tomatoes and peppers from seeds.

The method below describes a very good way to start tomatoes, peppers and eggplant. This is a tried and true method; been doing this for years and it gives the best results.

1. Sow seeds close to each other in a shallow container (about 2 inches deep). Add soil to Start Seeds Peppers 2013just cover the seeds. Keep moist and warm.

2. When seeds germinate, place in a warm sunny location, keep moist but do not over water.

3. After the first true leaves appear, choose the best plants and gently transplant into individual containers (learn how to make biodegradable newspaper pots).  Place the plants as deep into the soil as the first leaves – the stem will grow roots.

4. Transplant into the garden when soil is warm and there is no more frost expected. For peppers and eggplants, dig a hole large enough to hold the container. Cover the hole and a little bit of the stem with soil (the paper pot will biodegrade quickly). For tomatoes try the best method for growing tomatoes.

Method for growing the best tomatoes!

Tomatoe Harvest-001Let me share with you the best method to grow   the greatest and largest tomatoes you have ever grown. My family has been   using this method for years and it has not failed! I made a little diagram   for you to look at (you know, one picture is worth many words! please find it below on the right with description on the left). This method   gives your plants extra roots and extra roots = better plants and more   tomatoes! Do not forget to grow companion plants with tomatoes. Plants love   friends too!!! I love to grow basil, calendula and zinnias next to my   tomatoes.

Tomatoes Growing Method 2013

1. Get your transplants ready.

2. Discard all bottom leaves, leaving only two or three leaves on the top (put those unwanted leaves in compost).

3. Dig a trench in the ground and gently lay down your tomato plant.

4. Bury the plants stem, leaving those couple leaves out.

5. Walk away for a couple of weeks (I do not know about you, but I have to see my plants every day). You can stake them at this point or wait longer.

At this point, tomatoes may take a couple of weeks to get going, but after that they will take off! Let me know if you have any questions or need more instructions. And as always – put your straw hat on and go play in some dirt!