I have been totally captivated! Why have I not tried it years ago?! Swiss chard, also know by many other names, has totally captivated my imagination. It looks absolutely beautiful, it tastes great, it has long harvesting season and is not prone to become bitter when it is hot – it is perfect! Have you grown this magnificent relative of beets? If you have not – you must try!
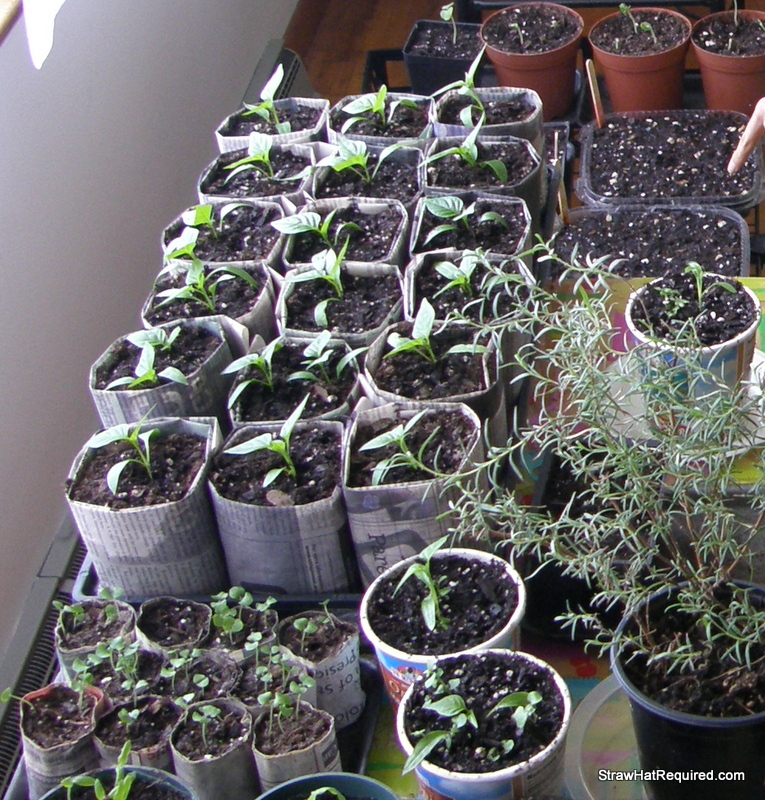
You can start them indoors or in a cold frame. To start them indoors you can use my newspaper pots method (learn how to make newspaper pots). The plants will be fine with light frost, but it is best to give your young Swiss chard some protection.
Pest problems are minimal, I have some damage from slugs (do not even get me started on those nasty things!!!), but the plants are so vigorous, they do not care much about the damage.
You can eat the young leaves raw in salads, this is especially fun in early spring, when the splash of color lifts your up from those winter blues… Sauté larger leaves and stems as a side dish (oh my, how I love the yummy and colorful stems). Add Swiss chard to anything: soups, stir fries, anything that will benefit from a splash of color and nutrition. The taste is very mildly sweet and earthy, very similar to beets but not as strong. The stems have stronger flavor compared to leaves and older/larger leaves are even more flavorful (cook them for a couple of minutes on a pan with some water or put them in your soups).